
Last Updated: November 2, 2026
Quick Summary
To sanitize medical offices for health compliance, clean visibly soiled surfaces first, then disinfect high-touch areas with an EPA-registered product used exactly as its label directs, including the full dwell time. Effective medical office sanitizing pairs a written room-by-room checklist with logged tasks, because if it isn’t documented, it didn’t happen.
- Clean every surface before disinfecting it, since dirt blocks disinfectant from working.
- Wipe exam tables and disinfect devices like blood pressure cuffs between every patient.
- Disinfect restroom fixtures and waiting room touchpoints twice daily during respiratory season.
- Follow terminal cleaning top down, work clean to dirty, and mop the floor last.
- Verify with visual checks, written logs, and ATP swabs or fluorescent marker tests.
Table of Contents
- What Health Compliance Actually Requires of a Medical Office
- Your Medical Office Cleaning Checklist, Room by Room
- How Often Should a Medical Office Be Cleaned and Disinfected?
- The Terminal Cleaning Procedure, Step by Step
- Verifying the Work: Post-Cleaning Checks and Documentation
- Vetting a Medical Office Sanitizing Vendor Before You Sign
- Request a Quote for Medical Office Sanitizing
- Frequently Asked Questions
What Health Compliance Actually Requires of a Medical Office
Health compliance in a medical office means meeting federal and state rules for cleaning, disinfection, and infection control.
A written routine beats guesswork every time, and the same principle holds in clinical settings. This guide explains how to sanitize medical offices for health compliance, step by step, without the jargon.
Three rules drive everything else:
- Every surface gets cleaned before it gets disinfected. Dirt blocks disinfectant from working.
- Staff wear gloves and other PPE for every task that involves blood or body fluids.
- Every task gets logged. If it isn’t documented, it didn’t happen.
The CDC infection control guidance for healthcare settings sets the baseline most inspectors and accreditors expect. State health departments and OSHA add their own requirements on top.
Your Medical Office Cleaning Checklist, Room by Room
A medical office cleaning checklist breaks the building into zones and assigns each zone its own tasks and frequency. One master list for the whole office always fails, because an exam room and a waiting room carry different risks.
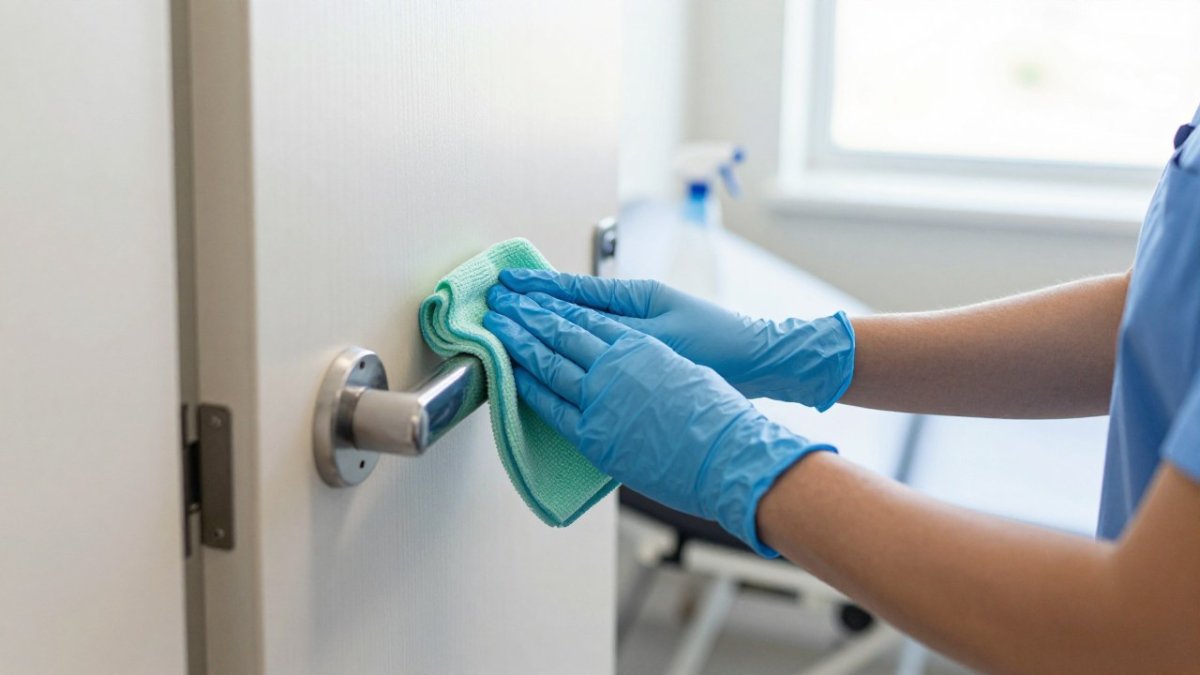
(https://www.epa.gov/pesticide-registration/selected-epa-registered-disinfectants). Then build a simple system:
- Pick EPA-registered disinfectants listed for the pathogens your office may encounter.
- Check the dwell time on the label. That is how long the surface must stay wet.
- Use a neutral detergent for routine cleaning of floors and walls.
- Keep a Safety Data Sheet binder where any employee can reach it.
- Store chemicals away from patient care areas.
For offices that want to see how these standards translate into actual service tasks, this overview of disinfection services for offices walks through the practical side.
How Often Should a Medical Office Be Cleaned and Disinfected?
A medical office should be cleaned daily, with high-touch surfaces disinfected at least once a day and exam tables wiped between every patient.
Frequency depends on three things:
- Patient volume. A busy clinic generates more surface contact than a small practice.
- Risk level. Procedure rooms and labs need more frequent disinfection than administrative offices.
- Season. Cold and flu months justify tighter schedules.
Build a written schedule and post it where staff can see it. A common mistake is setting frequencies once and never revisiting them after patient volume changes.
The most useful format is a frequency matrix that names each surface, its risk tier, and the minimum interval.
| Surface or area | Risk tier | Minimum frequency | Notes |
|---|---|---|---|
| Exam table | High | Between every patient | Replace paper and disinfect the table surface |
| Blood pressure cuff, stethoscope, otoscope handle | High | Between every patient | Follow the device manufacturer’s cleaning instructions |
| Door handles, light switches, chair arms in exam rooms | High | At least daily, more in high-volume clinics | Include in terminal cleaning |
| Waiting room chairs, armrests, front desk, pens, clipboards, payment terminals | High | At least daily; twice daily during respiratory season | Remove shared magazines or clean them daily |
| Restroom fixtures, dispensers, door push plates | High | Twice daily | Log each pass |
| Break room table, microwave handle, fridge door | Medium | Daily | Staff-only area but still a touchpoint |
| Floors in patient areas | Medium | Daily damp mop; spot mop as needed | Mop last in terminal cleaning |
| Walls, ceilings, vents | Low | On a set schedule or when visibly soiled | Not a daily task |
| Procedure and lab rooms | Highest | Per your facility policy, often after each procedure | Terminal cleaning after infectious cases |
Three scheduling rules keep the matrix honest:
- Tie frequency to risk, not to convenience. A surface that gets touched by fifty patients a day cannot share a schedule with a storage room shelf.
- Revisit the matrix quarterly. Patient volume, new services, and flu season all shift the right interval.
- Log each pass against the matrix. A schedule without a log is a wish, not a compliance record.
Watch out: setting a frequency and never auditing it is the most common scheduling failure.
The Terminal Cleaning Procedure, Step by Step
Terminal cleaning is the deep, top-to-bottom clean performed when a room is vacated, such as at the end of the day or after an infectious patient leaves. It follows a fixed order so nothing gets missed and clean areas never get recontaminated.
Follow this sequence:
- Prepare. Put on gloves, gown, and eye protection. Gather supplies.
- Remove waste. Bag regular trash and biohazard waste separately.
- Strip the room. Remove linens and disposable items.
- Clean top down. Start with high shelves and work toward the floor.
- Clean, then disinfect. Wipe every surface with detergent, then apply disinfectant and let it sit for the full dwell time.
- Work from clean to dirty. Clean the least soiled areas first, then move toward the door.
- Finish the floor. Mop last, working from the far corner toward the exit.
- Document. Log the room, the products used, and the time.
Watch out: skipping the dwell time is the most common failure. Spraying and immediately wiping defeats the disinfectant entirely.
Verifying the Work: Post-Cleaning Checks and Documentation
Verification is where most offices fall short, and it is exactly where inspectors look. A cleaning log proves the work happened; a verification check proves it worked.
Layer 1: Visual inspection. A supervisor walks each zone against the checklist before sign-off. Look for visible soil, streaks, missed edges, and residue around fixtures.
Layer 2: Written logs. Record the date, time, room, product used, dwell time observed, and initials for every disinfection task.
Layer 3: Objective verification. Two methods are common in clinical settings:
- ATP surface testing. An ATP swab measures organic residue left on a surface and gives a numerical reading in seconds. It is not a legal requirement, but it turns “looks clean” into a pass/fail number. Most practitioners set a threshold for high-touch surfaces and re-clean any surface that fails. Test the same surfaces on a rotating basis so the sample is representative rather than cherry-picked.
- Fluorescent marker validation. A supervisor places a UV marker on a high-touch surface before cleaning, then checks with a UV light after. If the mark is gone, the surface was actually wiped. This is the cheapest way to prove that a cleaner reached the surfaces the checklist names, and it exposes skipped touchpoints that visual inspection cannot see.
A workable verification cadence for a small to mid-size office:
- Daily: cleaner self-check against the room checklist, logged.
- Weekly: supervisor visual inspection of a rotating sample of rooms.
- Monthly: ATP swab or fluorescent marker check on a set of high-touch surfaces, with results logged.
- Quarterly: review the verification data, identify repeat failures, and retrain or adjust the checklist.
Watch out: verification data that is collected but never reviewed is worse than no data at all.
Documentation should tie the three layers together. A single room record that shows the checklist, the cleaner’s initials, the supervisor’s visual sign-off, and any objective test result gives an inspector a complete chain of evidence. Keep the records organized by room and date so a single request during an audit does not turn into a filing exercise.
Vetting a Medical Office Sanitizing Vendor Before You Sign
Vetting a vendor comes down to proof: proof of training, proof of insurance, and proof of a documented process. Ask every candidate the same questions and compare the answers side by side.
| What to check | Why it matters | What to ask for |
|---|---|---|
| Insurance and bonding | Protects the office if something goes wrong | Current certificate of insurance |
| Staff training | Untrained staff miss dwell times and PPE rules | Training records or program outline |
| Product list | Disinfectants must be EPA-registered | Product names and SDS sheets |
| Written procedures | Consistency depends on documented steps | Sample cleaning checklist |
| Verification method | Proves the work was done correctly | Sample logs or inspection reports |
| References | Shows real-world reliability | Contacts at similar medical clients |
For a deeper walkthrough of this process, see this guide on how to vet professional cleaning companies.
North Shore Maids has nearly two decades of experience, and its staff are bonded and insured.
Request a Quote for Medical Office Sanitizing
Pricing for medical office sanitizing depends on square footage, room count, patient volume, and how often the office needs service. For current prices or a quote, visit the North Shore Maids website.
For a clear picture of what the process looks like from first call to first clean, this step-by-step guide to requesting a cleaning quote covers each stage.
Frequently Asked Questions
What is the three-step disinfection process used in medical offices?
The three-step process is clean, disinfect, and verify. First, staff remove visible soil and debris with a neutral detergent and microfiber cloth, because disinfectants do not work well on dirty surfaces. Second, they apply an EPA-registered disinfectant and let it stay wet for the full label dwell time, which is often 1 to 10 minutes depending on the product. Third, they confirm the work through cleaning logs, visual checks, or ATP swabs. Skipping the cleaning step is the most common reason disinfection fails.
How often should a medical office be cleaned and disinfected?
High-touch surfaces such as door handles, exam tables, and waiting room chairs should be cleaned and disinfected at least daily, and between patients in exam and procedure rooms. Floors, restrooms, and staff break areas typically need daily attention. Terminal cleaning happens when a room is vacated for the day or after a patient with a transmissible infection. Your specific schedule should follow CDC environmental cleaning and disinfection guidelines plus any rules from your state health department and accreditation body.
Which disinfectants should be used in a medical office?
Use only EPA-registered disinfectants labeled for healthcare settings, and match the product to the pathogen risk and surface material. Check the label for kill claims, contact or dwell time, and safe surfaces. Keep the Safety Data Sheet for every product in an SDS binder that staff can reach. Bleach solutions work for some spills but can damage equipment, so follow manufacturer instructions for sensitive medical devices. Never mix products, and store them away from patient areas.
How should cleaning staff document medical office sanitation?
Keep written cleaning logs for each room and each shift, recording the date, time, surfaces treated, product used, and the initials of the person who did the work. Logs should be reviewed by an office manager or compliance lead and stored for the period your state or accreditor requires. Documentation supports compliance audits and helps you spot missed areas. Pair logs with periodic ATP swab checks to confirm surfaces are actually clean, not just wiped.
The hardest part of health compliance is not knowing the rules. It is keeping the routine consistent when the office is busy. North Shore Maids handles that consistency with trained, bonded staff, written checklists, and a satisfaction guarantee. Get started with North Shore Maids and put a documented, reliable cleaning routine behind your compliance program.
